Church settings
For church administrators: dashboard, insights, roles, settings and billing.
Church settings
Your church's details, sign-in logo, help contact, time zone, menu links, application form and welcome text message.
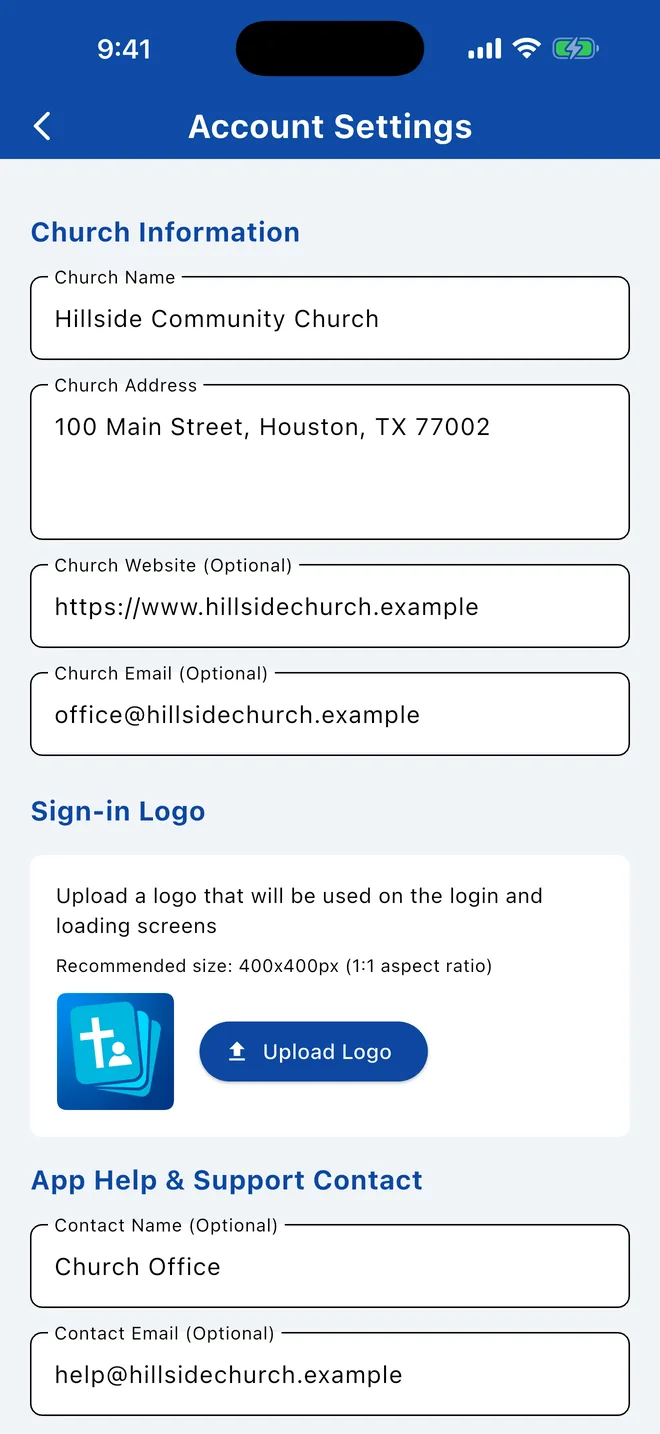
Open the menu › Settings › Account Settings. Save with Update.
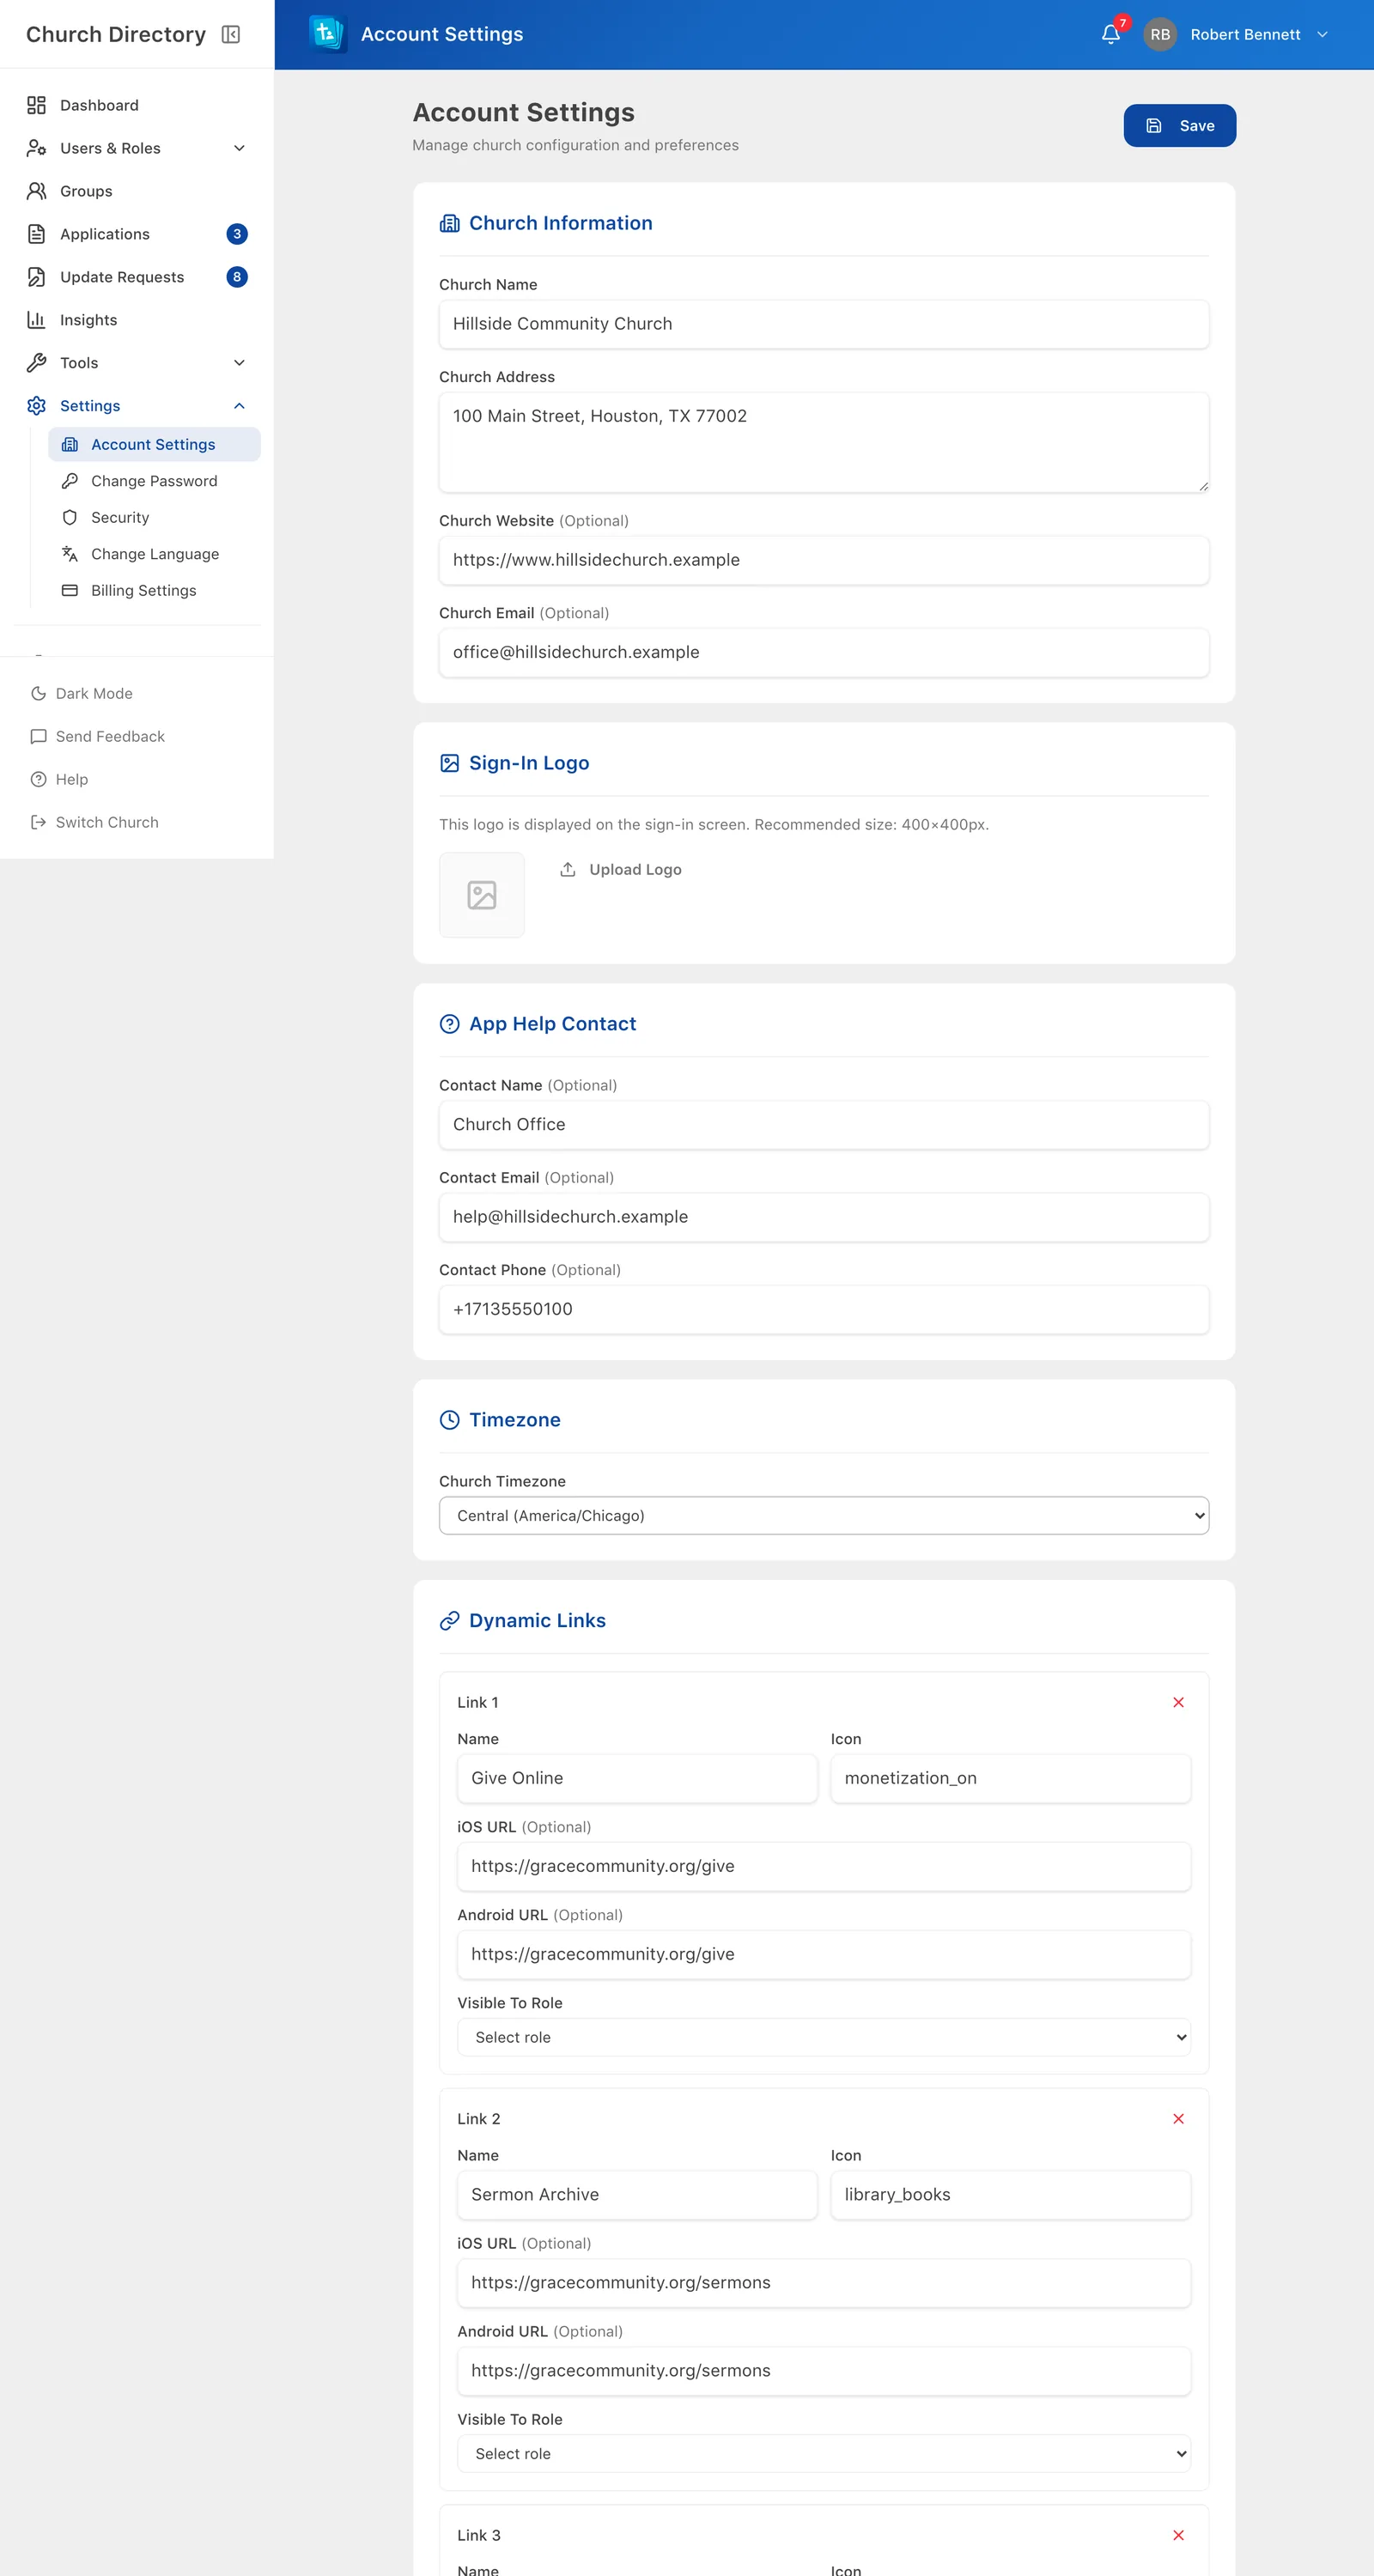
In the sidebar, open Settings › Account Settings. Save your changes at the bottom.
Church information
Name, address, website and email.
Sign-in logo
Shown on the sign-in screen after members pick your church. Use a square image, about 400 × 400 pixels.
App help contact
The name, email and phone number members see under Help. Use whoever should answer "my details are wrong" or "I can't sign in" questions.
Time zone
Used for birthday reminders and dates, so notifications arrive on the right day.
Menu links
Add up to 5 links to the app's menu, such as online giving, sermons or an events calendar. For each link choose a name, an icon, the web address (separate addresses for iPhone and Android if needed) and which roles see it.
On mobile, choose Manage Dynamic Links.
Member application form
The address of your online application form and the password people need to open it.
Welcome text message
Turn on Welcome SMS to text new people a welcome message, and edit the wording. {firstName} and {lastName} are replaced with their name.
Related Articles
Member applications
Let new families apply online, then turn each application into directory profiles with a few clicks.
Managing PeopleGet help and send feedback
Who to contact about your church's information, and how to tell us about a bug or idea.
Account & SettingsSubscription and billing
Check your plan and people limit, renew, upgrade, and what happens when a subscription ends.
Church AdministrationWas this article helpful?
Thank you for your feedback!