Member applications
For church staff: add, edit, import and export people, and review requests.
Member applications
Let new families apply online, then turn each application into directory profiles with a few clicks.
Your church has an online application form. New members fill it in for their whole family (husband, wife, children, address, previous church, family photo), and it arrives in the app for staff to review.
Share the form
The form's address is https://churchdirectoryplus.com/new-member/<your church> and is protected by a password you set in Account Settings. Give both to people joining your church, for example after a membership class.
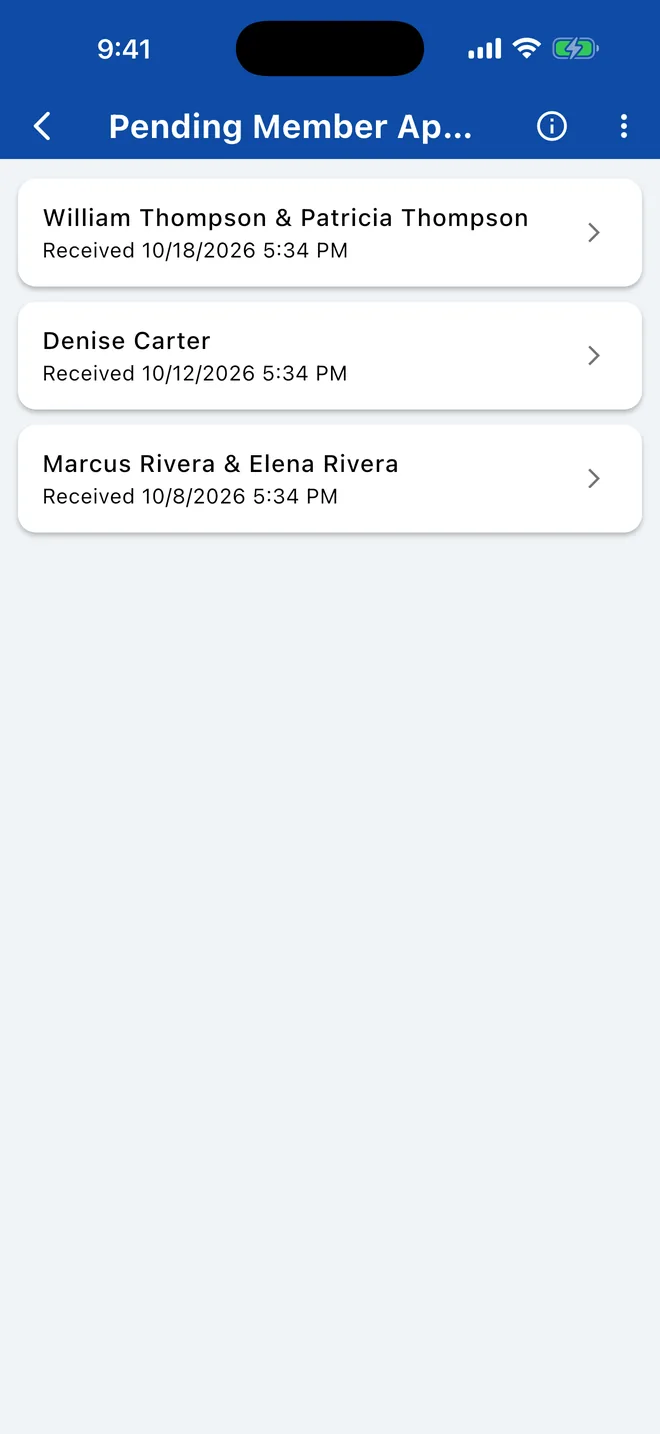
On the Pending Member Applications screen, use Copy URL to copy the link.
On the Applications page, click the info button next to the title to see the link, and Copy it.
Review an application
On the Dashboard, tap New Member Applications. Tapping a new-application notification also brings you here. Use All and Archived at the top to see older ones.
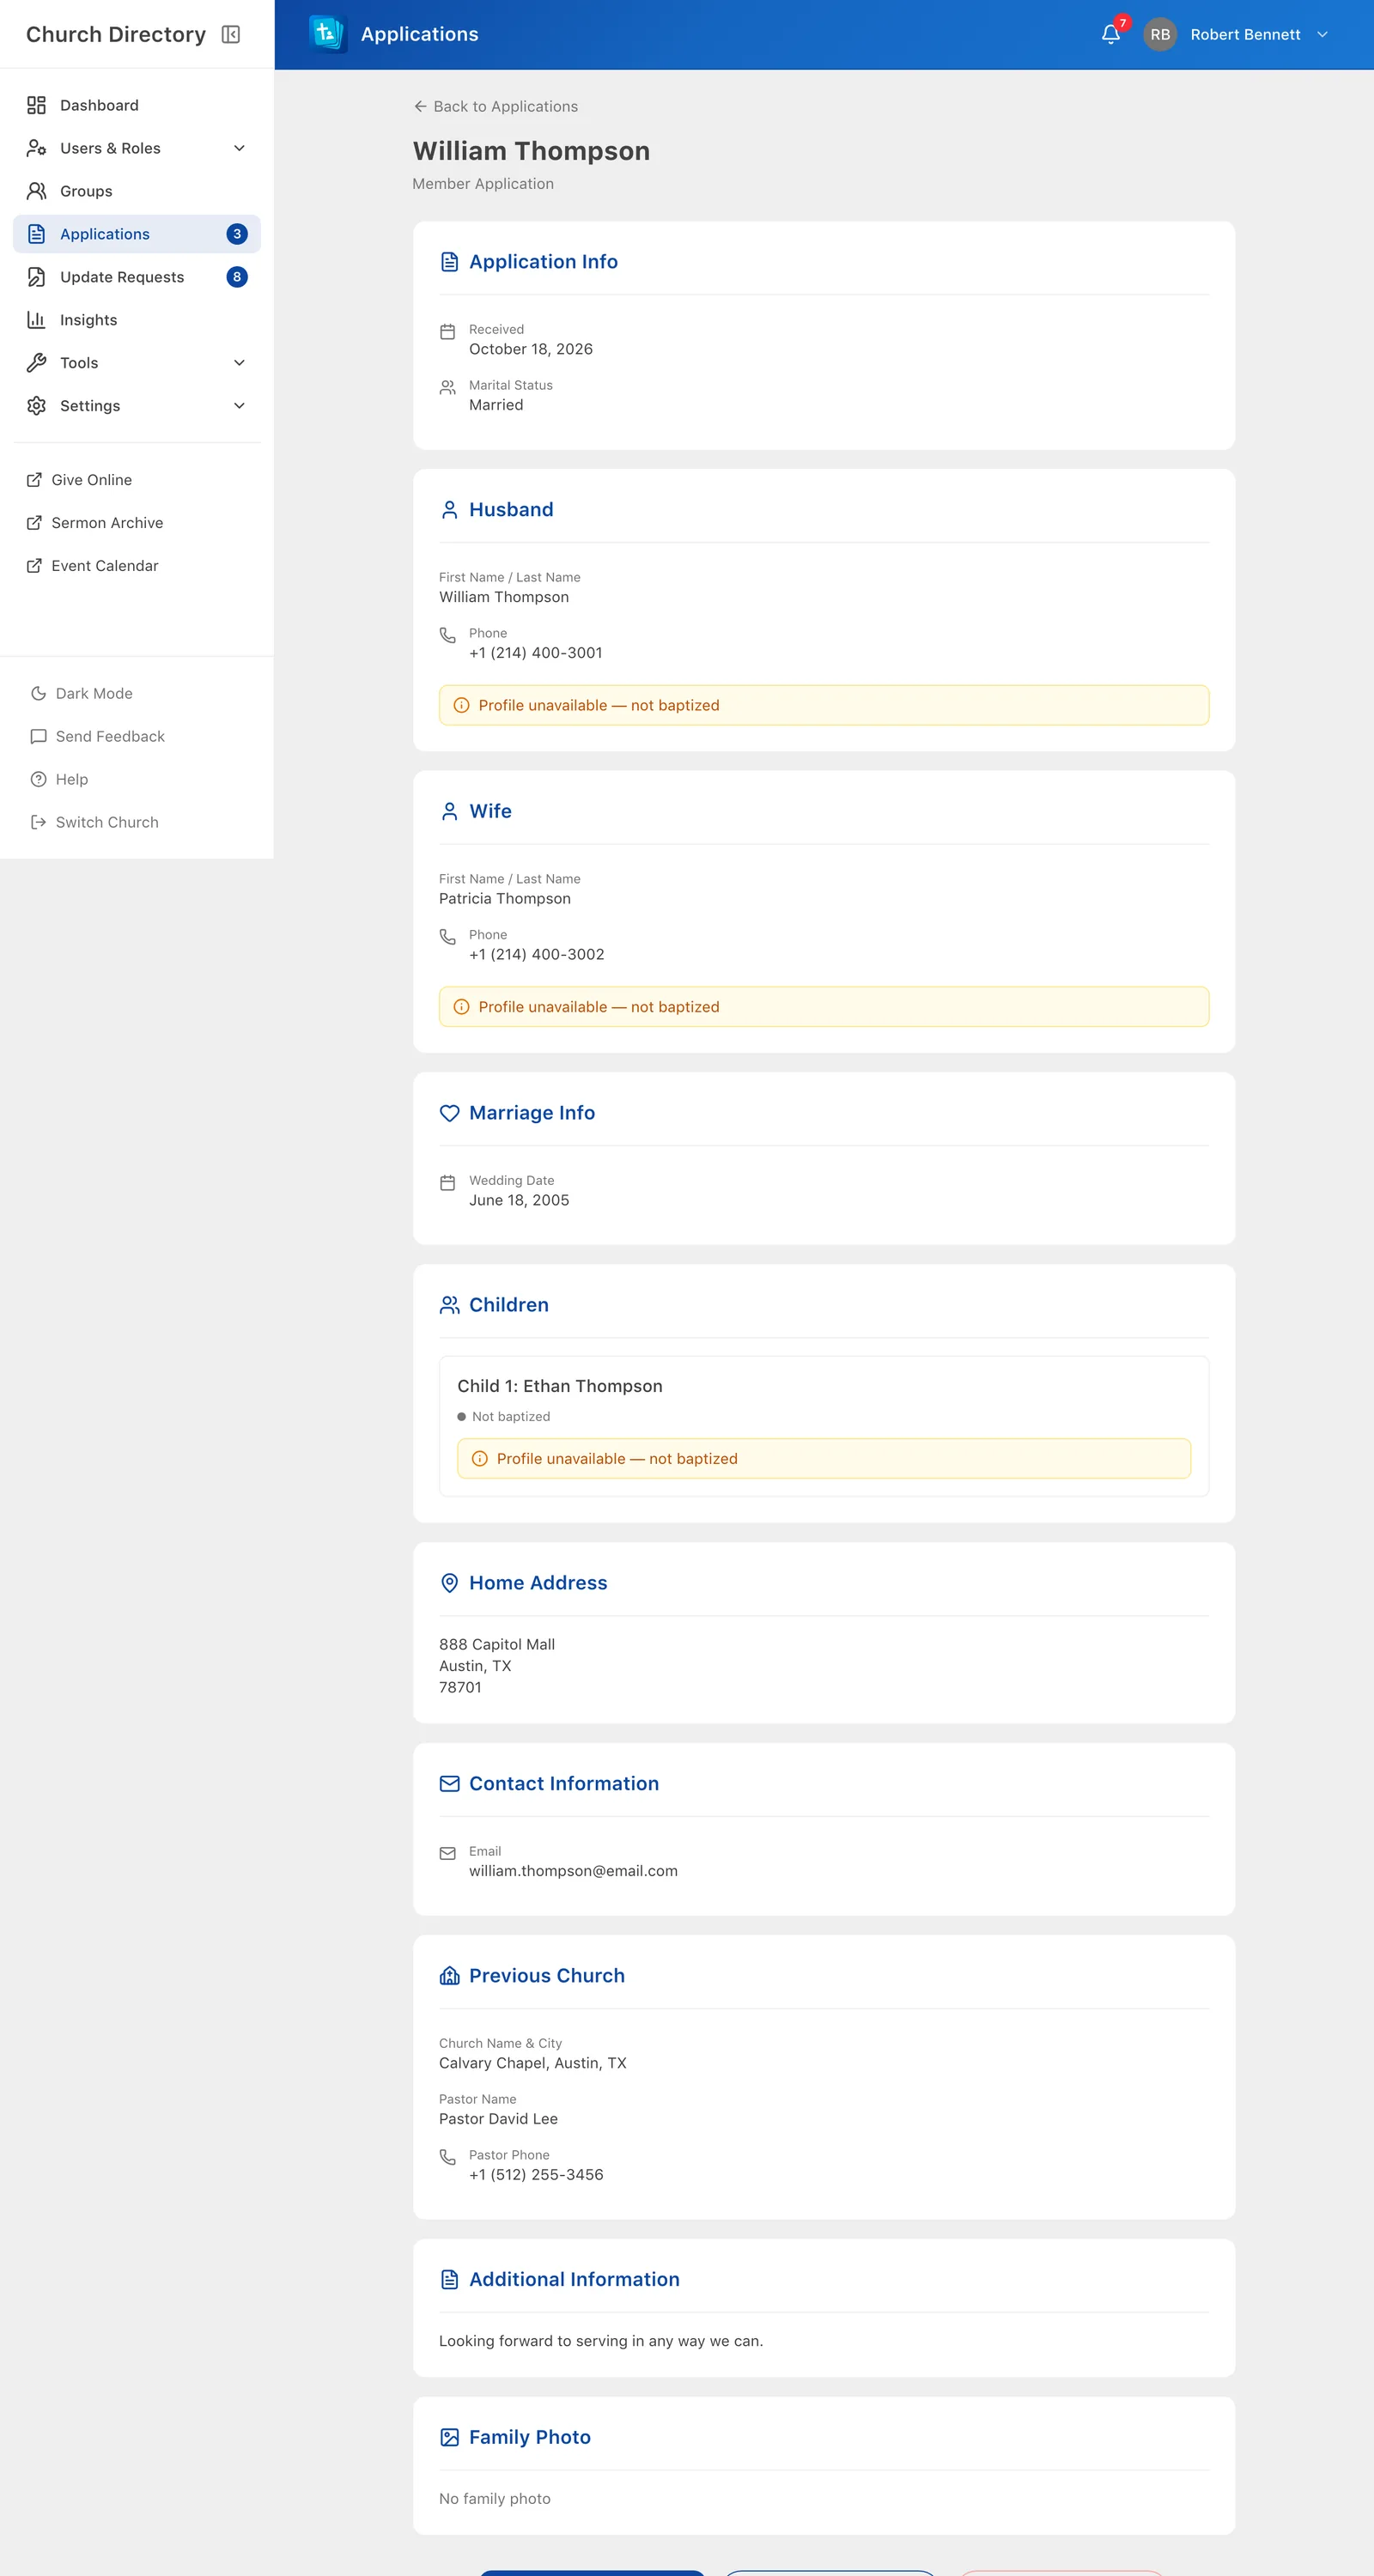
Click Applications in the sidebar (the badge shows how many are waiting). Switch between Pending, Archived and All.
Turn it into profiles
- Open the application and check the details.
- For each person (applicant, spouse, each child), choose Create Profile. The add person form opens already filled in, including the family photo. Review it and save. Children marked as not baptized can't be given profiles.
- When everyone has a profile, choose Approve. If you approve before creating all the profiles, you'll be warned.
Use Archive for applications you've dealt with another way, and Delete for spam or duplicates.
Get notified
Staff who handle applications can get a notification for each new one. Turn it on in notification settings.
Related Articles
Add people
Add a new person to the directory one at a time, with their details, family, groups and role.
Managing PeopleChurch settings
Your church's details, sign-in logo, help contact, time zone, menu links, application form and welcome text message.
Church AdministrationNotifications
Choose which notifications you get, and see the ones you've received.
Account & SettingsWas this article helpful?
Thank you for your feedback!